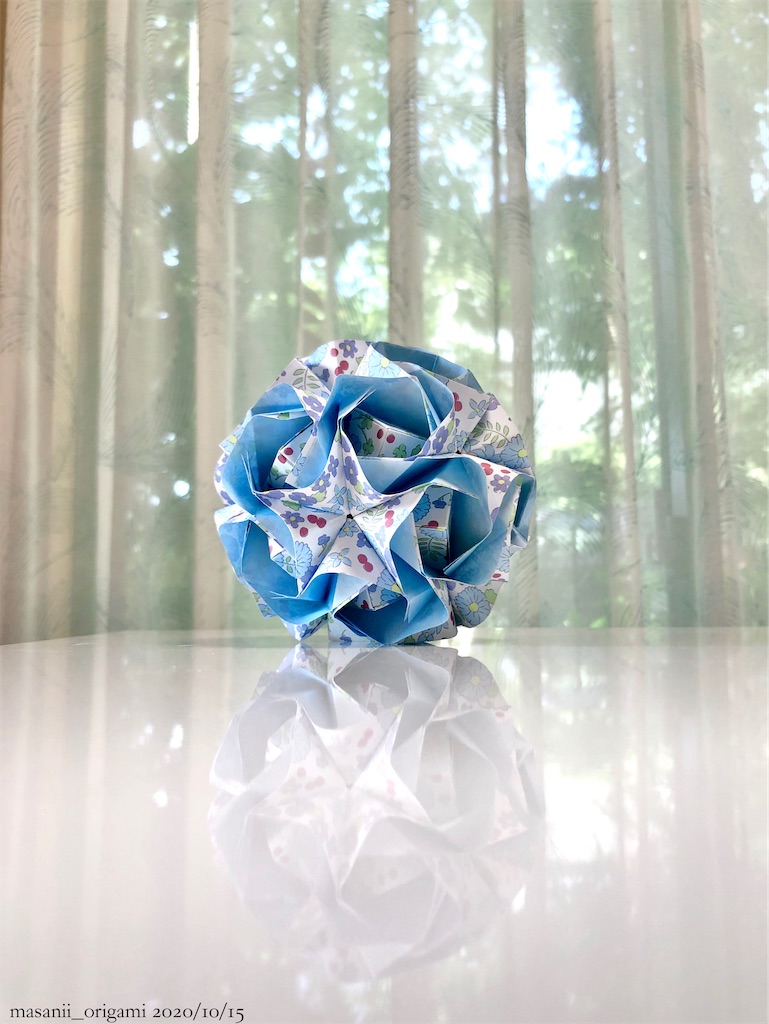
ローズ・ブーケ/Rose Bouquet
作者:横山文恵さん
Designed by Fumie YOKOYAMA
月刊おりがみ543号(2020年11月号)の掲載作品です。
使った素材は、ダイソーの「両面ちよがみ フラワー」。
表は花柄・裏面は水色。上品で落ち着いた雰囲気がいいですね。
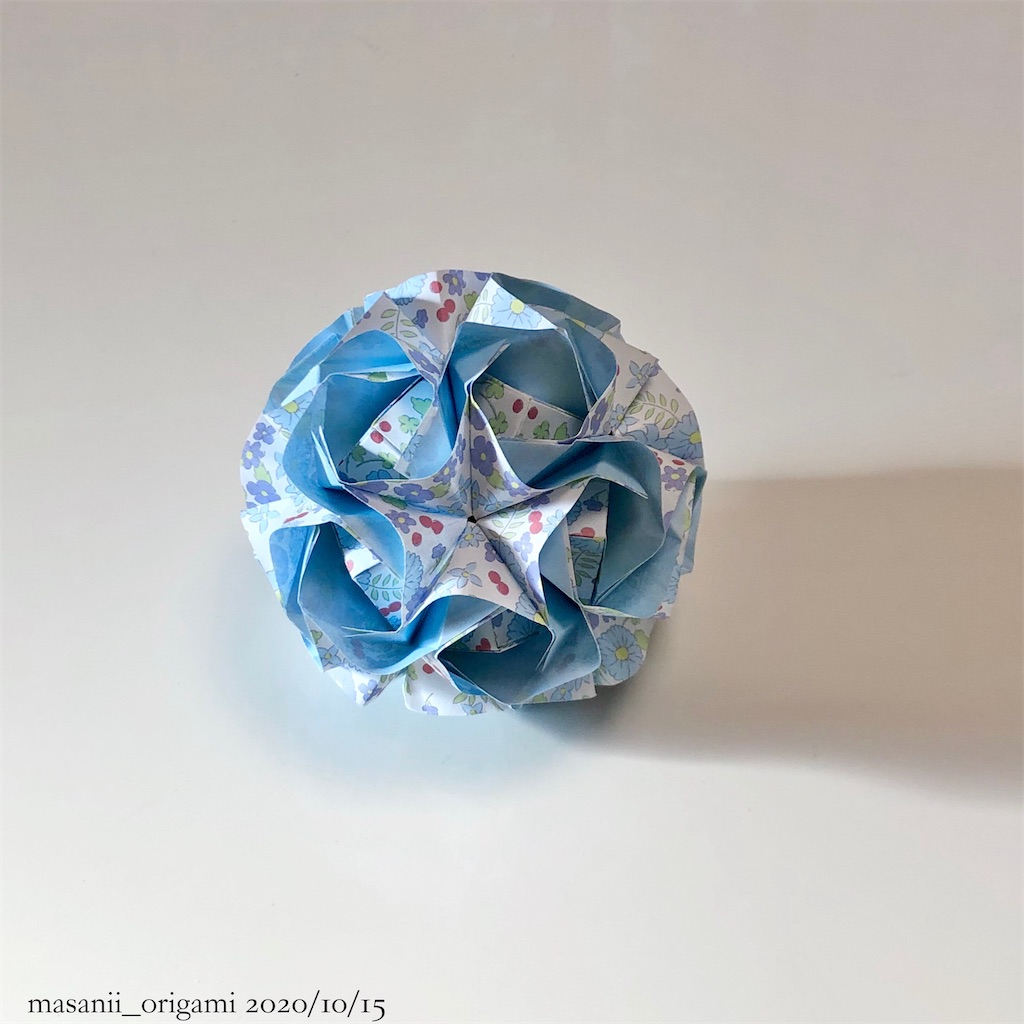
This artwork is in Monthly ORIGAMI magazine No.543(Nov.2020).
I used a material "DOUBLE SIDED DESIGN CHIYOGAMI PAPER FLOWER" from Daiso store.
It has floral pattern on the frontside, and light blue on the back side.
I like the elegant and calm atmosphere.
さて、今日も日本語・英語のダブル表記。
久しぶりの3本立てでお送りいたします。
Also today, I'll deliver in two language, Japanese and English.
And I wrote it in three chapters!
☘️今日のトピック/Today's Topic☘️
❶紙のサイズ/Paper size
❷組み立てる際の注意/Precaution for assembling
❸きれいに組むコツ/Tips for assembling
☘️☘️☘️
❶紙のサイズ/Paper size
必要枚数は30枚。
15cm×15cmを4等分して、7.5cmのサイズで作りました。
こうすると、紙の枚数も8枚に節約できるし、仕上がりもコンパクトになります。
4枚×8=32枚。
紙が2枚余るので、他の用途に有効活用したいところです。
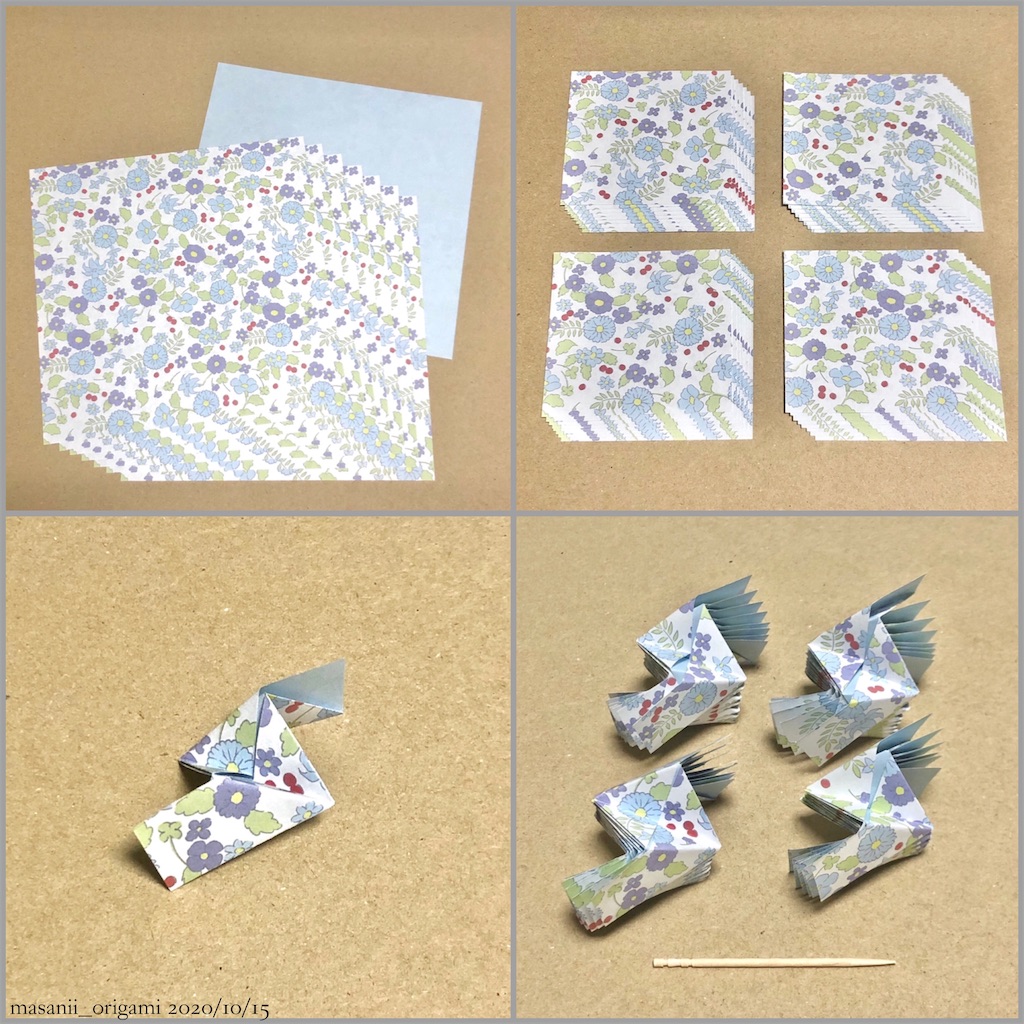
It needs 30 square papers.
I devided 15cm×15cm into 4 equal parts to get 7.5cm square papers.
This way, we can save 30 papers into 8, moreover, the completed form will be compact.
There are 2 extra parts, so I'd like to use them for other works as well.
❷組み立てる際の注意/Precaution for assembling
ひとつのパーツを作るのはとても簡単なのですが、組む際には注意点があります。
いわゆる普通の多面体を作る時には「上側のスキマ」に差し込むのですが、ローズ・ブーケ」は「下側のスキマ」です。
It's easy to make one part, but be careful when assembling.
When we make an typical ORIGAMI Polyhedron, we insert the tip into "Gap on the UPPER side".
However, in the case of Rose Bouquet, we must insert the tip into "Gap on the LOWER side".
恥ずかしい話、私は序盤でここを間違えて、中盤でおかしくなったことに気付いて引き返しました。
皆さんはくれぐれも、ご注意くださいね。
Embarrassingly, I made a mistake in the above part early on, I realized later that something had been wrong! I turned back reluctantly.
Be careful when you try it!
❸きれいに組むコツ/Tips for assembling
3個1組のパーツを作る際には、2つを完全に組んでから最後の1つを組むと、非常にやりづらくなります。
最後の1つが、まったく入りません。
When you make a set of three parts, it will be pretty difficult to assemble two parts completely and then the last one.
The last one doesn't be inserted at all.
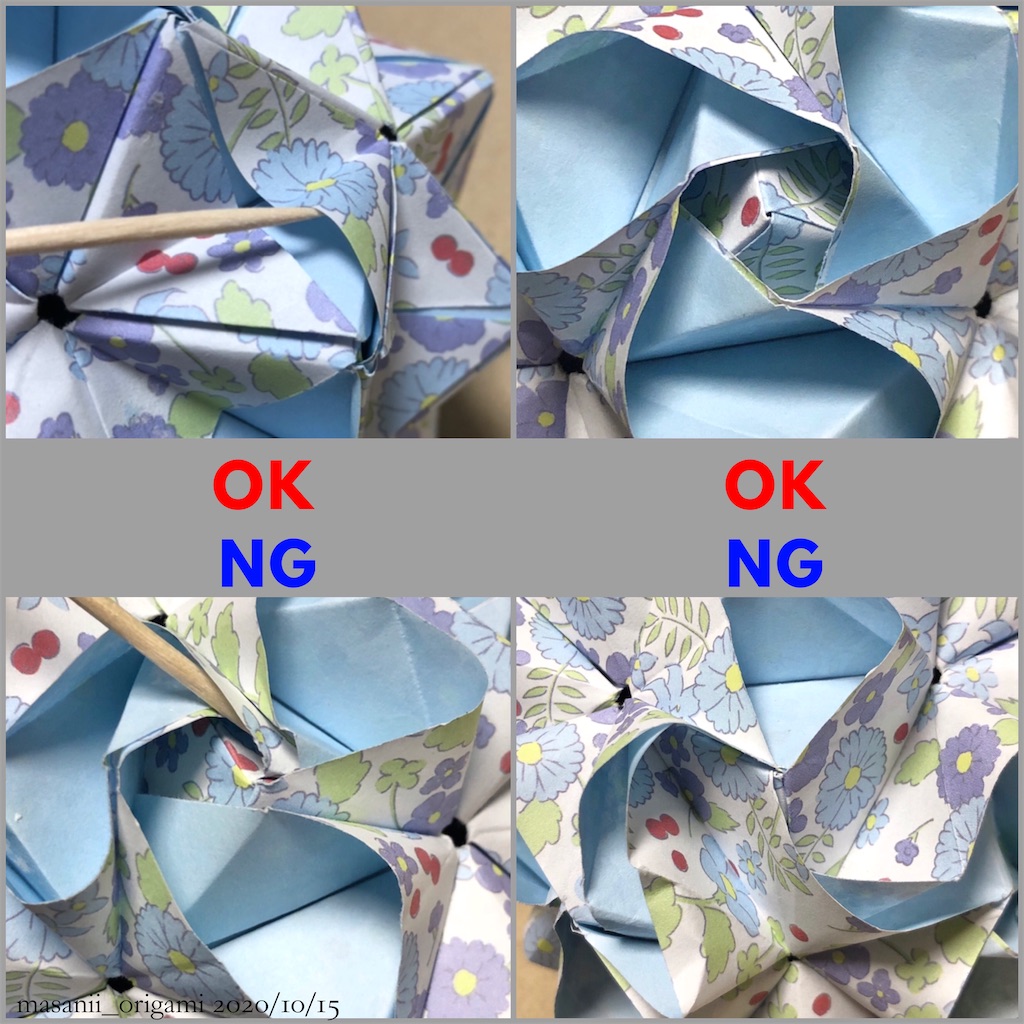
ここは、3つ全てを先端だけ差し込み、全体をきしませながら少しずつ入れていくと、スムーズに差し込むことができます。
(写真参照)
最後に「ギシッ」と揺らせば、スキマは最小限に。
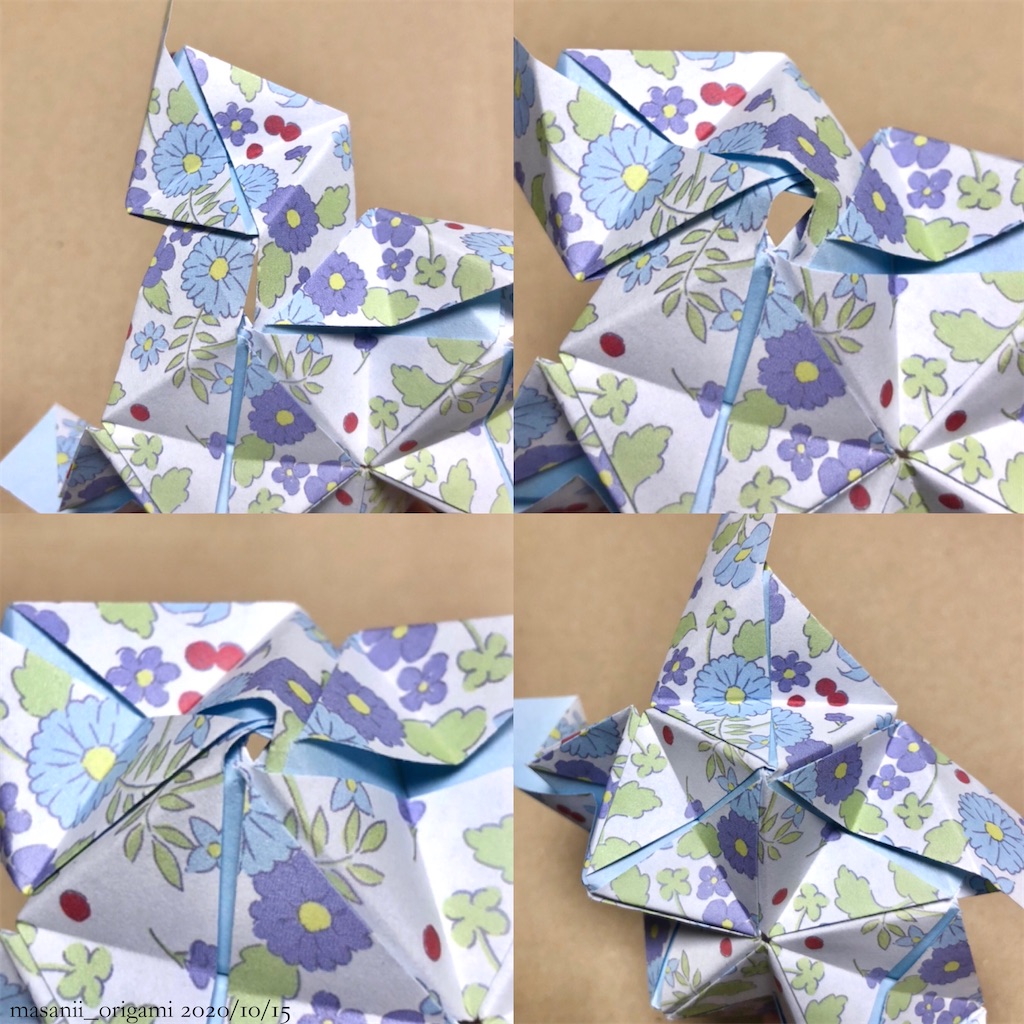
If you want to do smoothly, you should insert all three only at the each tip, and insert deeper. Little by little, while squeaking the whole. (See photos)
Finally, when you shake the whole parts with a SQUEAK, the central gap becomes minimum.
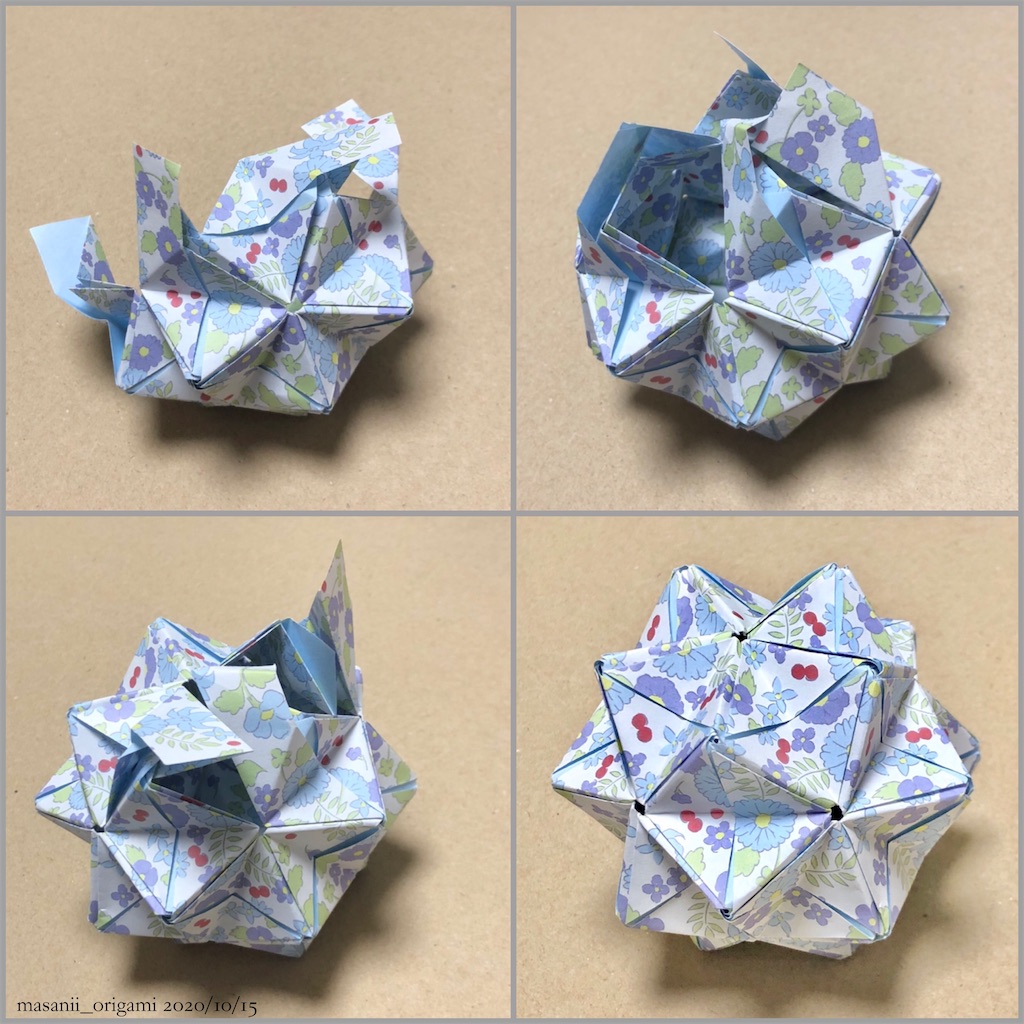
なお、ノリ付けは一切しない方が良いかと思います。
接着すると、せっかくの花びらが最後に開かなくなってしまうんです。
(私は最初の数箇所にノリを付けてしまったのですが、もう手遅れでした。)
これは、再チャレンジするしかありませんね…
(写真参照)
In addition, it's better not to glue at all.
If you do, the petals will not open at the end.
(I had glued in the first few pieces, it was too late!)
There's no choice but to try again...
(See photos)
ノリなしでも、意外にしっかり組めます。
ガマンして最後までやり切りましょう!
It's possible to assemble sturdy without glue.
Be patient and let's do it till the end!
☘️☘️☘️
完成品は「ローズ」っぽくはありませんが、淡いブルーがネモフィラのようですね。
裏面の水色がさりげなく見えて、いい感じです。
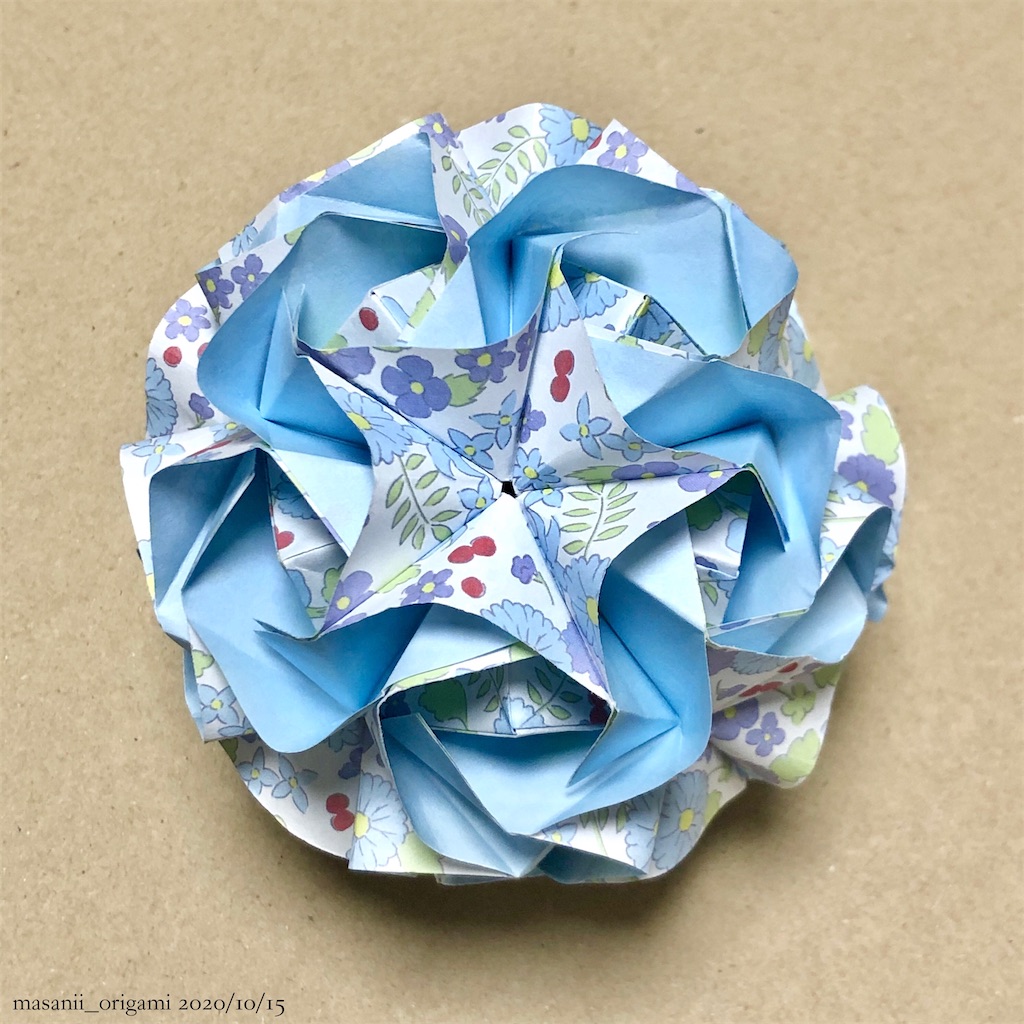
The finished work doesn't look like a ROSE, but the pale light blue looks like a Nemophila.
We can find light blue on the back side casually, I like it.
「ローズ・ブーケ」は、絵柄によって様々な表情を見せてくれそうです。
一度覚えてしまえばカンタンに作れるのも嬉しいところ。
皆さんも、やってみませんか?
"Rose Bouquet" will show us various aspects depending on the color pattern.
Fortunately, once you learn how to make, it's easy to make again.
Would you like to try them, too?
月刊おりがみ543号(2020年11月号)、定期購読だけでなく、Amazonでも気軽に買うことができます。
他の作品も魅力的なものばかりなので、ぜひチェックしてみてくださいね。

You can purchase Monthly ORIGAMI magazine No.543(Nov.2020) not only with a subscriptions but also from Amazon website.
All the other works are also attractive, you should check it out!