アトリエまさにぃへ、ようこそ。
Welcome to Atelier masanii.

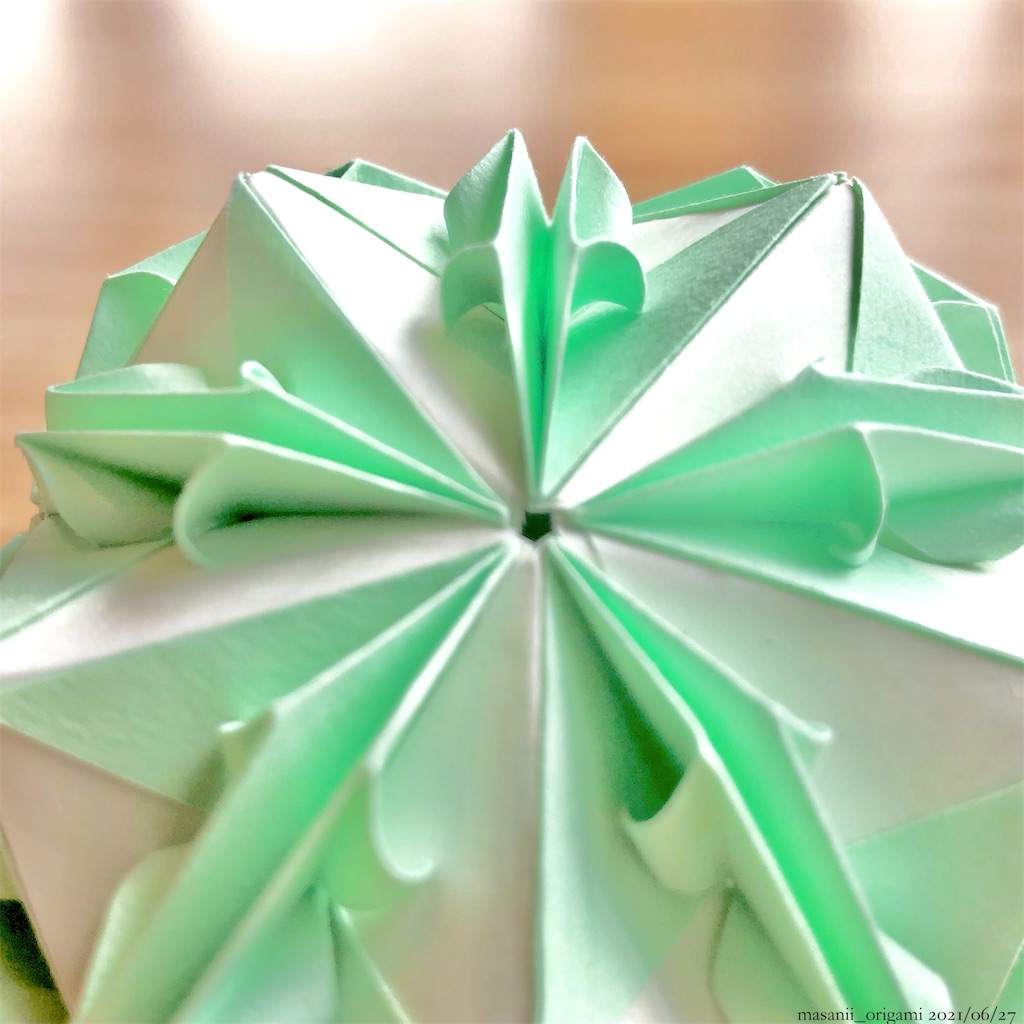
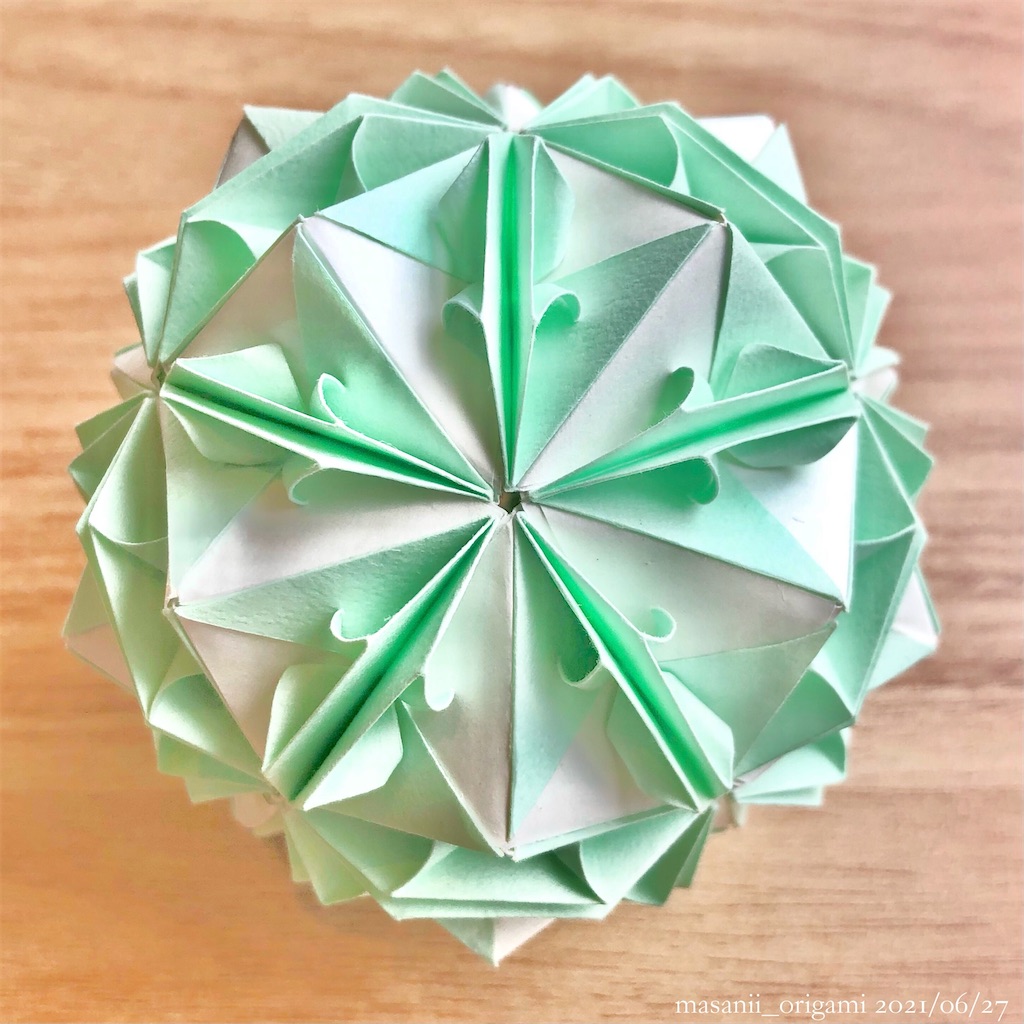
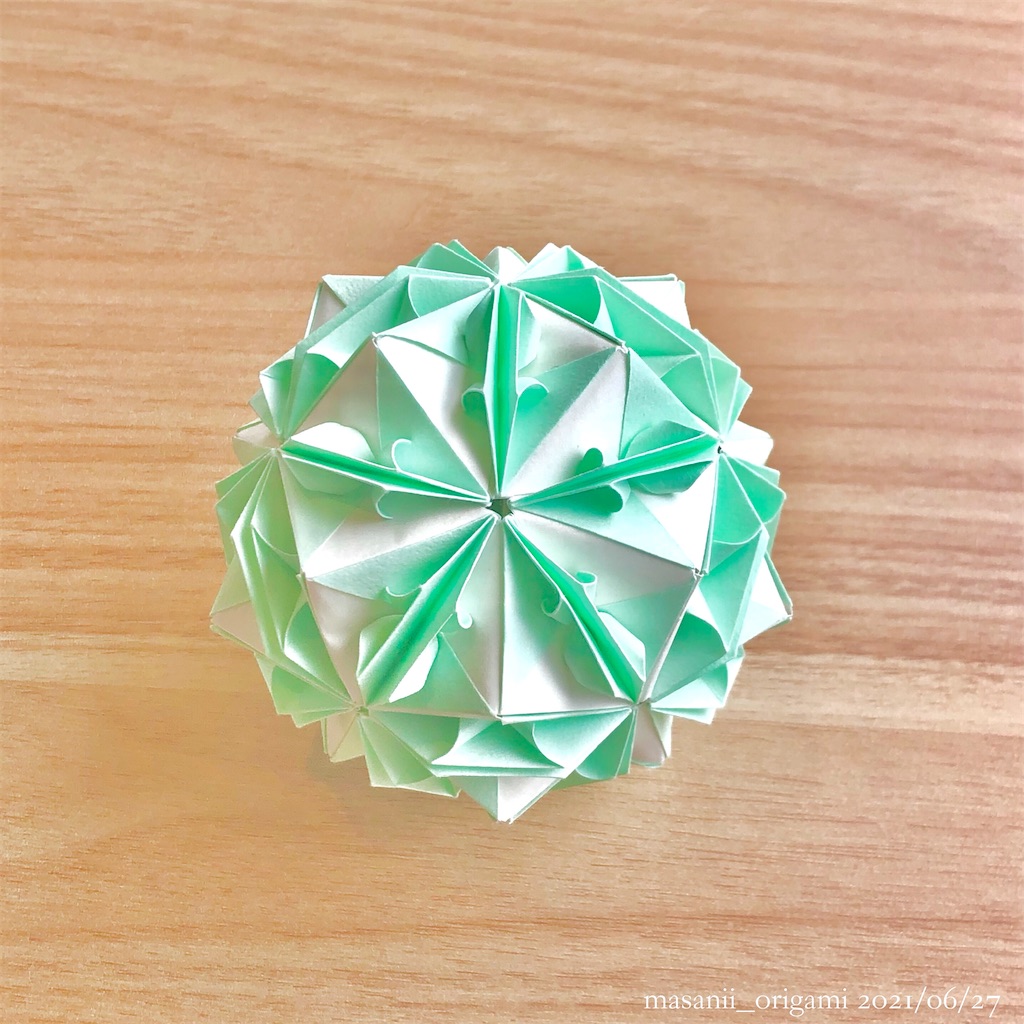
今日ご紹介するのは、布施知子さんのユニット作品「菊桃」です。
菊桃(キクモモ)とは、モモの仲間の園芸品種のひとつ。
八重咲きの尖った花びらが菊に似ていることが、花名の由来だそうです。
(以下出典・一部要約)
Today I introduce is "Kikumomo", the unit Origami designed by Tomoko Fuse.
Japanese name "Kikumomo" means that "Kiku" is chrysanthemums and "Momo" is peaches.
It's so called because it's a type of peach cultivars and overlapping pointed petals look like chrysanthemums.
In English, this variety is called "Prunus persica".
(Source: link above)
モモの仲間なので、本来ならピンク基調で作るものなのですが…
今回は、さわやかな「白×ミントグリーン」で仕上げてみました。
ミントのアイスを口にしたような清涼感、伝わりますでしょうか?

Kikumomo is a kind of peaches, so it should have been made in pink...
I tried refreshing white & mint green.
Do you feel coolness like the moment when you eat mint ice cream!?
☘️☘️☘️
使った素材は、緑タントと白単色。
どちらもトーヨー製で、Amazonで普通に買えます。
I use green tant & ordinary white.
Both are made by Toyo, and you can get them on Amazon easily.
ザラザラの柔らかい緑色と、ツルツルで清潔感のある白色。
異なる材質で違和感が出るかな…と心配していましたが、かえって色のコントラストが強調され、いい感じに仕上がったと思います。

Green is rough & soft, white is slippery & clean.
I was worried that different materials make us feel uncomfortable.
But rather, the color contrast was emphasized and they finished well.
用意するパーツは1:2の長方形なので、15cm×15cmを4カットして、それを2等分しました。
1枚から8パーツできるので、必要な紙は緑4枚・白4枚です。
(4枚×8等分=30枚+余り2枚)
タント15cmは各色4枚ずつ入っているので、この作品にピッタリですね。
ちなみに完成すると、直径8cmくらいになります。

This model requires 1:2 rectangle, so I cut 15cm×15cm paper in four, and divided each of them in two.
One paper can make 8 parts, so you need 4 each in green & white.
(4 papers ×8 parts = 30 parts & 2 surpluses)
One tant package has 4 papers for each colors, so it's suitable for this model!
The finished product is about 8cm in diameter.
☘️☘️☘️
このモデルを選んだ理由は、オシャレ度と安定感のバランスが良いことです。
先端をカールさせる作品は、置くと底が潰れることが多いので、実はちょっと敬遠していました。
せっかく整えた曲線が崩れるの、勿体ないですよね。
「菊桃」は、カールの構造が内側にあるので、地面と接触しても型崩れしません。
これなら、理想の形をずっとキープできます。素晴らしい!

The reason why I chose this model is that it has a good balance between structural stability and stylishness.
Most models which has curled tips tend to distort the bottom when placed on the floor, so I've avoided them for a long time.
I can't stand that the curve I adjusted with my efforts is collapsed.
This model doesn't distort when it touch the floor because curl structure is inside the outer frame.
This will be able to keep my ideal shape for a long time. wonderful!
ちなみに今回は、まきまきするのに爪楊枝を使いました。ジャストフィットです。
タントは適度な厚みがあるので、巻いた所がペラペラせず、リッチな感じが出るのも良いですね。

By the way, I use a toothpick to curl the tips. The diameter fits perfectly!
Tant paper has moderate thickness, so it makes curls plump rather than poor. I like it.
☘️☘️☘️
組み立てにあたっては、差し込む先端と、重なりの裏側をがっつり接着しました。
ノリを使う場合は、「全部作って一斉に組む」よりも、「1つ作って1つ組む」という方式がオススメです。
なぜなら、パーツ1つを作る数分間で、ノリが乾いてくれるから。
まだ多少湿っていても、スポッと抜けることはありません。

When assembling, I glued the tip to be inserted, and also the back side of the part where papers overlap.
When gluing, you should "Make one & assemble one" rather than "Make all & assemble all".
Because the glue dries in a few minutes to make one part.
The glued part may be somewhat damp, but it's rarely pulled out.
使うノリは、スティックのり一択。
液体ノリは乾きにくいうえ、水分で紙が変形しちゃうんですよね。
私はスティックのりを爪楊枝ですくって、接着部に塗りつけています。
これなら、終盤に手が入らなくなっても安心です。
完成品は、繊細な見た目でありながら、かなり頑丈にできています。
「握るとギシッときしんで戻る」レベルです!

I always use "stick type".
Lquid type is hard to dry and the moisture tend to distort the paper.
I scoop glue a little with a toothpick, then apply to gluing point.
It's relief even if you can't insert fingers near the end stage.
Although the finished product seems to be delicate, it's quite sturdy.
When you grasped it, squeaks & dents, and then return to its original shape.
☘️☘️☘️
この作品の出典は、布施知子さんの「はじめてでも組める くす玉おりがみ」。
先月紹介した「ネモフィラ」と同じテキストです。
(2021/05/06)
masanii-origami.hatenablog.com
Textbook of this model is wrote by Tomoko Fuse, same as "Nemophila" that I introduced last month.
今回の「菊桃」は、1ユニット2枚の紙を使う複雑なものですが、1ユニット1枚の簡単な作品もたくさんあります。
また、30枚使わずとも、3枚・6枚・8枚・12枚でも作れるので、最初は少ない枚数でチャレンジしてみると良いでしょう。
ちなみに一番簡単なのは「6枚」で、完成すると立方体(サイコロ)になります。
パーツの中心を折らないので楽だし、まっすぐ差し込むだけだから自然に組めるので、初心者の方にオススメです。
ウチの講座では、みはるちゃん(小3)が15cmで6枚組を作って、折り鶴を刺して遊んでいました。
Today's "Kikumomo" is complex that needs 2 papers to make 1 unit, but there're a lot of easier models in textbook.
Also, you can try 3, 6, 8, or 12 without using 30 units. Let's begin with fewer units.
I think the easiest is 6 units, it'll be a cube.
You don't have to fold the center line, and can assemble naturally by simply inserting straight.
In my class, Miharu (3th grade of elementary school student) made cube with 15cm×15cm papers, and she was playing by sticking some paper cranes.
パーツのデザインだけでなく、絵柄や枚数によって、無限の変化を楽しめるユニット折り紙。
ハマる人が多いのも頷けます。沼ですねコレ。
おうち時間がマンネリ化してきた、そこの貴方。
ちょっとその辺の100均に立ち寄って、綺麗な紙でくす玉を作って、玄関やテーブルを彩ってみませんか?
ジメジメした空気が漂う日々の生活に、パッと明るい光が差すことでしょう。

Origami units can be enjoyed inexhaustible variations not only their design but also paper pattern or number.
No wonder that many people are enthusiastic about this subject.
Recently you may feel boring to spend time at home.
Why not browse stationary shop nearby for a moment, purchase some Origami & make beautiful Kusudama, and decorate it on living room or entrance?
A brilliant grace may pour into your everyday's life.
それでは。
アトリエまさにぃで、またお待ちしております。
See you again in Atelier masanii:)